A Newbie's Guide to: Paper Cutting
As many of the Happy Barnet Craft Challenges include trying new crafts or new techniques, we thought we'd share some tips and useful info about our favourite crafts to help you get started.
First up, Paper Cutting!
What's so great about it?
One of the things I love most about paper cutting is that you are really focused on the project you are working on and therefore can switch off from everything else and enjoy the relaxation of crafting. Quick side note: this might not happen straight away but once you get in to it, it does!
There's lots of different styles of paper cutting, there's simple patterns you can use to get started and you can challenge yourself with more complicated designs as your confidence grows.
It's easy to get started, not a huge amount of materials needed (says she with a cupboard full of paper!) and it doesn't take up much space.
What you'll need
You don't need a lot of materials and if you are a bit of a crafter you might find, like I did, that you actually own some of what you need already. Here's your paper cutting essentials shopping list:
Paper - you don't want to use standard copier paper, it's too thin and will blunt your blades as well. There's no single best paper to use, different people will have different preferences. I use paper about 180gsm thick, others prefer 130/140gsm so play about and find out what works for you. You don't need to spend a fortune on paper, especially while you are starting out but it will make a big difference getting good quality paper and experimenting with hammered or textured paper can add a nice effect. Remember you will also want different coloured paper if you are mounting your cut.
Craft knife - My top tip here is to get one with a padded finger grip. Hobbycraft currently have one for £4.50 but if you already have one without a grip you'll be fine, if you stick with paper cutting you can always treat yourself later on!
Blades - If you are buying a knife, it's likely they will come with blades. When you are ready to buy more I was recommended Swann Morton No 11 blades and bought them in bulk on ebay. I bought the biggest pack of 100 for £10. You do go through them quicker than you first think but I've still got some blades left so don't go too mad with your purchases!
Self-healing mat - You'll need one of these so you don't cut the heck out of your tables! Just looked on ebay and they seem to have them for about £4 so not a huge investment and can be used for other crafts. I have a large mat because it was originally bought for cutting fabric and whilst most of my cuts are only A4, I have to say having an A3 mat helps when I'm turning the template around to get to other areas of the design, so if there's no big difference in price and you have the workspace, I'd recommend splurging for an A3 one.
Templates - This is the fun bit! Looking for templates. You can buy books with templates in them or you can buy them online and get a pdf download ready to print. There's lots of places you can get these and I've included links to my favourites below. They can differ in price depending on the site so browse around.
Printer (or at least access to one!)
Glue - I use a can of spray glue to fix my cuts to the backing paper but you can also glue dots etc. Again you don't need to buy it at first but you will need something when you go to frame your creation!
Frames - There's three types of frames I've used: a standard frame, a deep box frame where I put the template at the front behind clear plastic so it seems to float, and those glass photo frames (really effective!).
That's it! So by my calculations, based on my top notch googling skills, I'd say you can get started for about £20.
How to get started
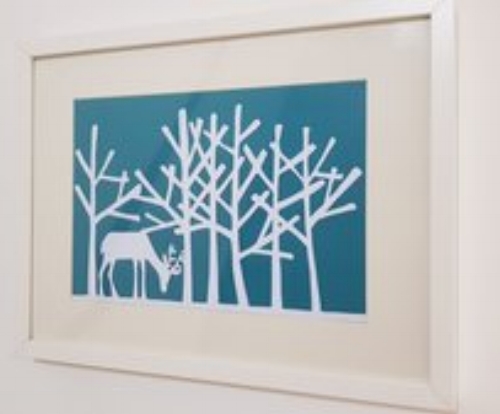
Find a simple template to get started. I would recommend avoiding too many circles (only because they require practice and might put you off if they are in your first project) or very intricate designs at first. You want to get used to how the blade works and having designs with fewer tiny details will help. The tree and deer photo is my first paper cut and as you can see it's mostly straight lines and very few tiny or curvy bits.
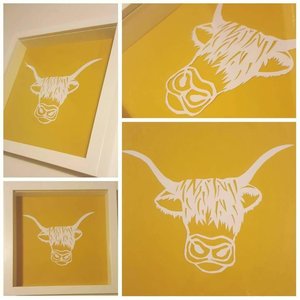
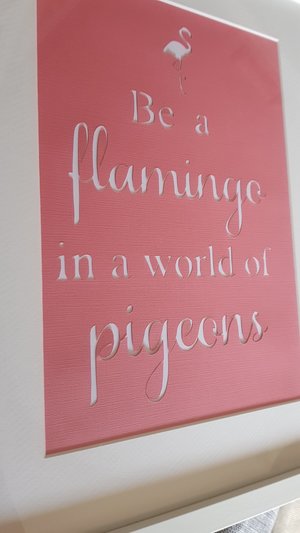
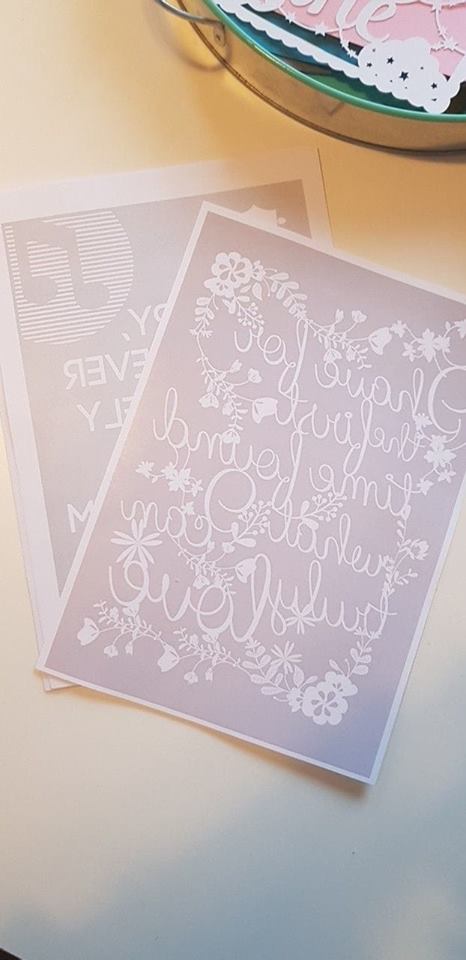
Templates are printed in reverse, so you are cutting the back of the final design. This ensures the front looks cleaner in the end. Typically you are cutting out the grey parts of a template, sometimes that leaves holes in the paper which makes the design (see my flamingo design above) or sometimes all the grey is removed and the white design is left (see my heilan' coo picture).
You should start with the smallest or fiddliest bits first. Don't avoid them! This will not only ensure that if you make a mistake with them, you won't be annoyed you spent ages doing all the other easy bits first but it's also much easier to do these small bits when the paper is at its strongest ie before you start cutting in to and removing big chunks.
Don't remove the big bits or edging till much later. Again, this gives the paper strength and makes it easier for you to work on the rest of the design....it's also kinda satisfying to cut the edges out at the end and see it all come together :)
Other than that, getting started is just a case of finding a quiet space, making sure you have good light, taking your time, taking breaks, watching your neck (change position if needed!) and accepting that your house will be filled with tiny bits of paper!


Techniques to learn
Once you have mastered the basics, there are a lot of ways to develop your skills. Here's a few ways I'd recommend:
More complex designs - embrace swirls, curls, fonts, fiddly bits and teeny tiny details. You'll be surprised how much you will be able to do.
Try different paper - textured, coloured, sparkly, mirrored; play around and see what you like!
Layered templates - I LOVE this technique. I use a programme that allows me to upload photos and it turns it in to templates for me. Each template is for a different colour in the image and by cutting them all out and layering them you can build up the image.
Make your own templates - I've only just started doing this and still finding my way but I have to say I love being able to make the whole piece right from the start!
What I wish I'd known
Circles take practice - If you are anything like me, your circles will start off looking like 50 pence pieces but it just takes practice. Try moving the paper rather than the knife, try cutting only from inside the circle, not outside it (apparently that's easier!) and if all else fails, turn them into stars or triangles or something else, which brings me on to...
You don't need to stick to the template! - No-one else knows what was originally on the template so if there's a bit that's just too fiddly for you to do right now, skip it, or change it! As long as it doesn't affect the overall design, it really doesn't matter.
The right direction - If you think about it, the direction you are cutting will put a strain on different parts of the paper, so if you are cutting a line where at one end it's pretty solid and at the other end it's just a thin, delicate bit of paper (eg a tree branch) then it's better to cut from the solid end towards the thin end. Otherwise it will pull and rumple or tear the paper.
Print off more than one copy - having back-up templates is useful for two reasons. 1. you will make mistakes and that's okay 2. you can practice cutting a particular part of the design on a spare template before you try it on the one you've been working on.
Change your blade regularly - As soon as you notice it's dragging / pulling at the paper, change it. I always start a new design with a fresh blade.
Some inspiration
Oh my gosh, I could include so many links here. I will try to be sensible and just include a few top recommendations for buying templates and admiring paper cut artists (side note: do not let the complex work of these artists put you off, I can't do anything like they do either!)
Template shopping
Plus lots on etsy and pinterest of course!
Paper cutting artists
Want to join in with the Happy Barnet Craft Challenge? Join our Facebook Group and take a look at the challenges for fun and for growth


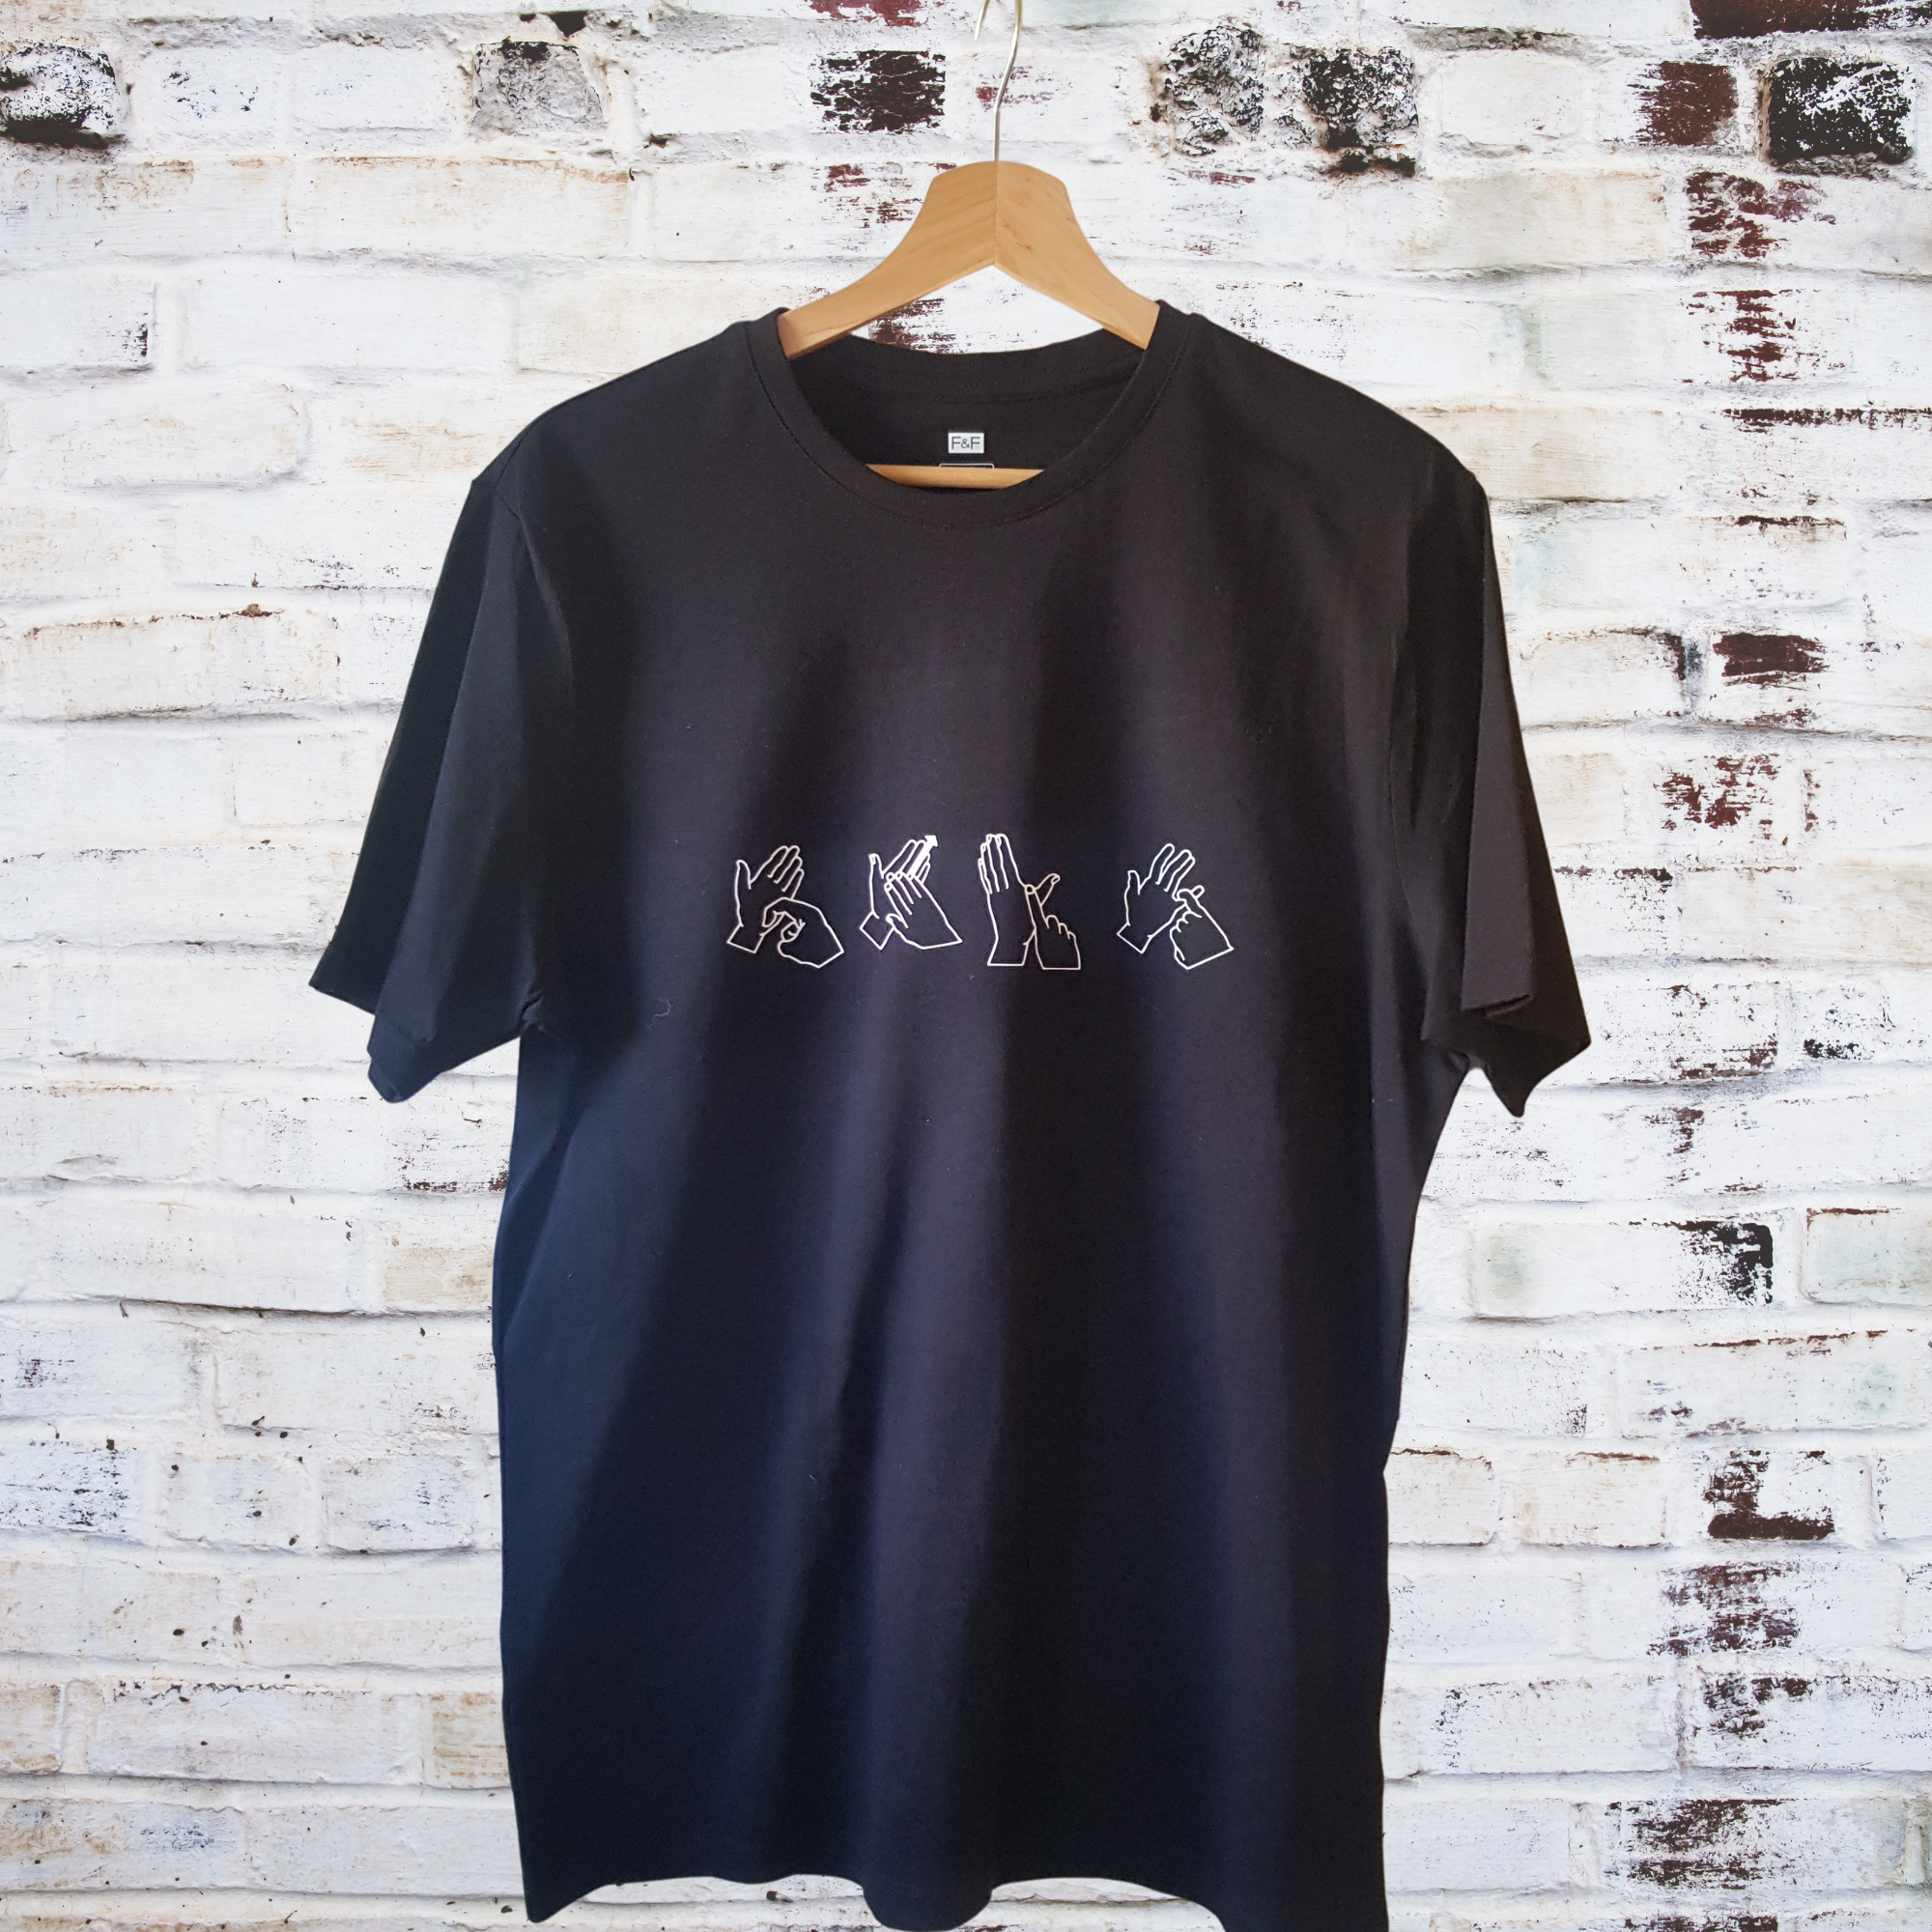

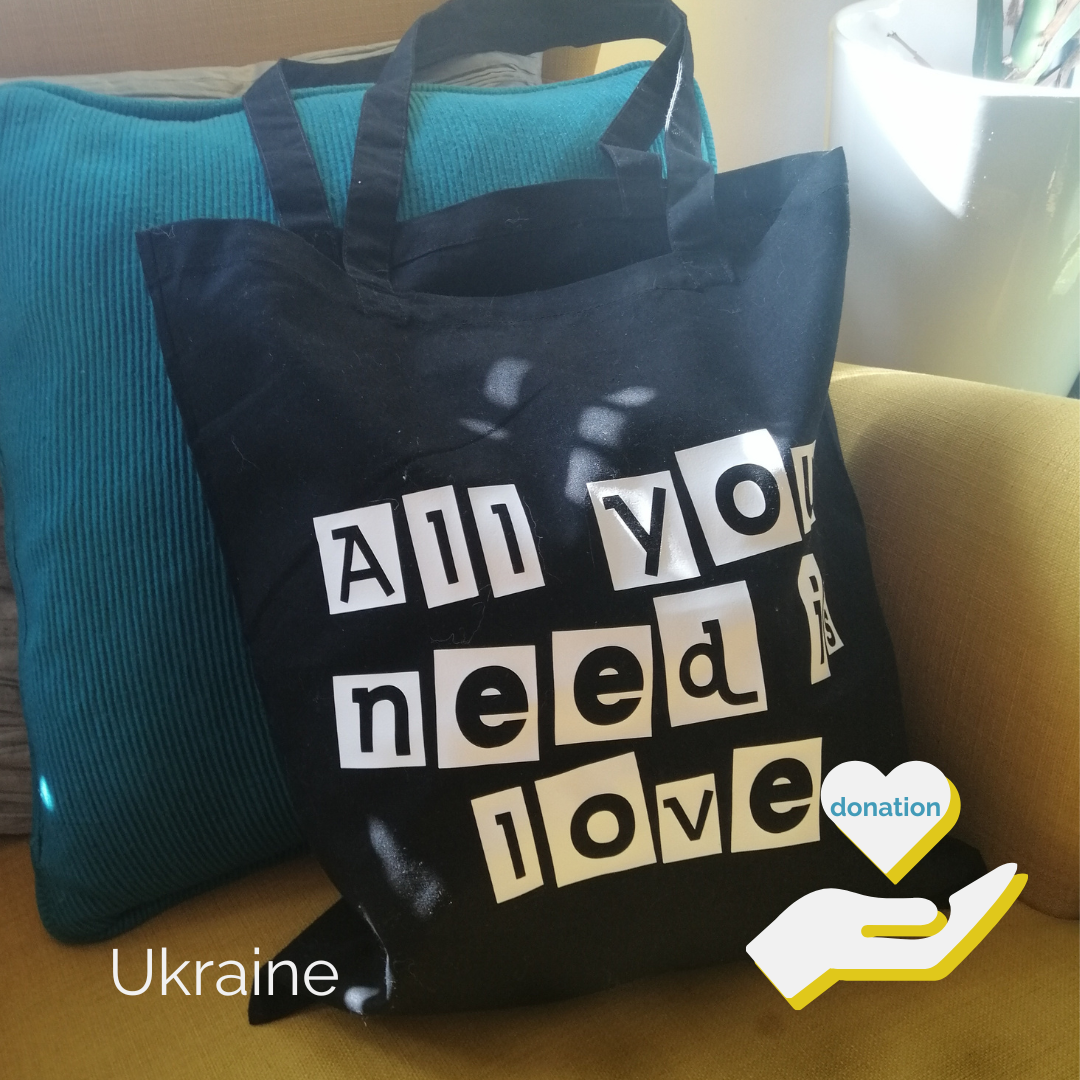
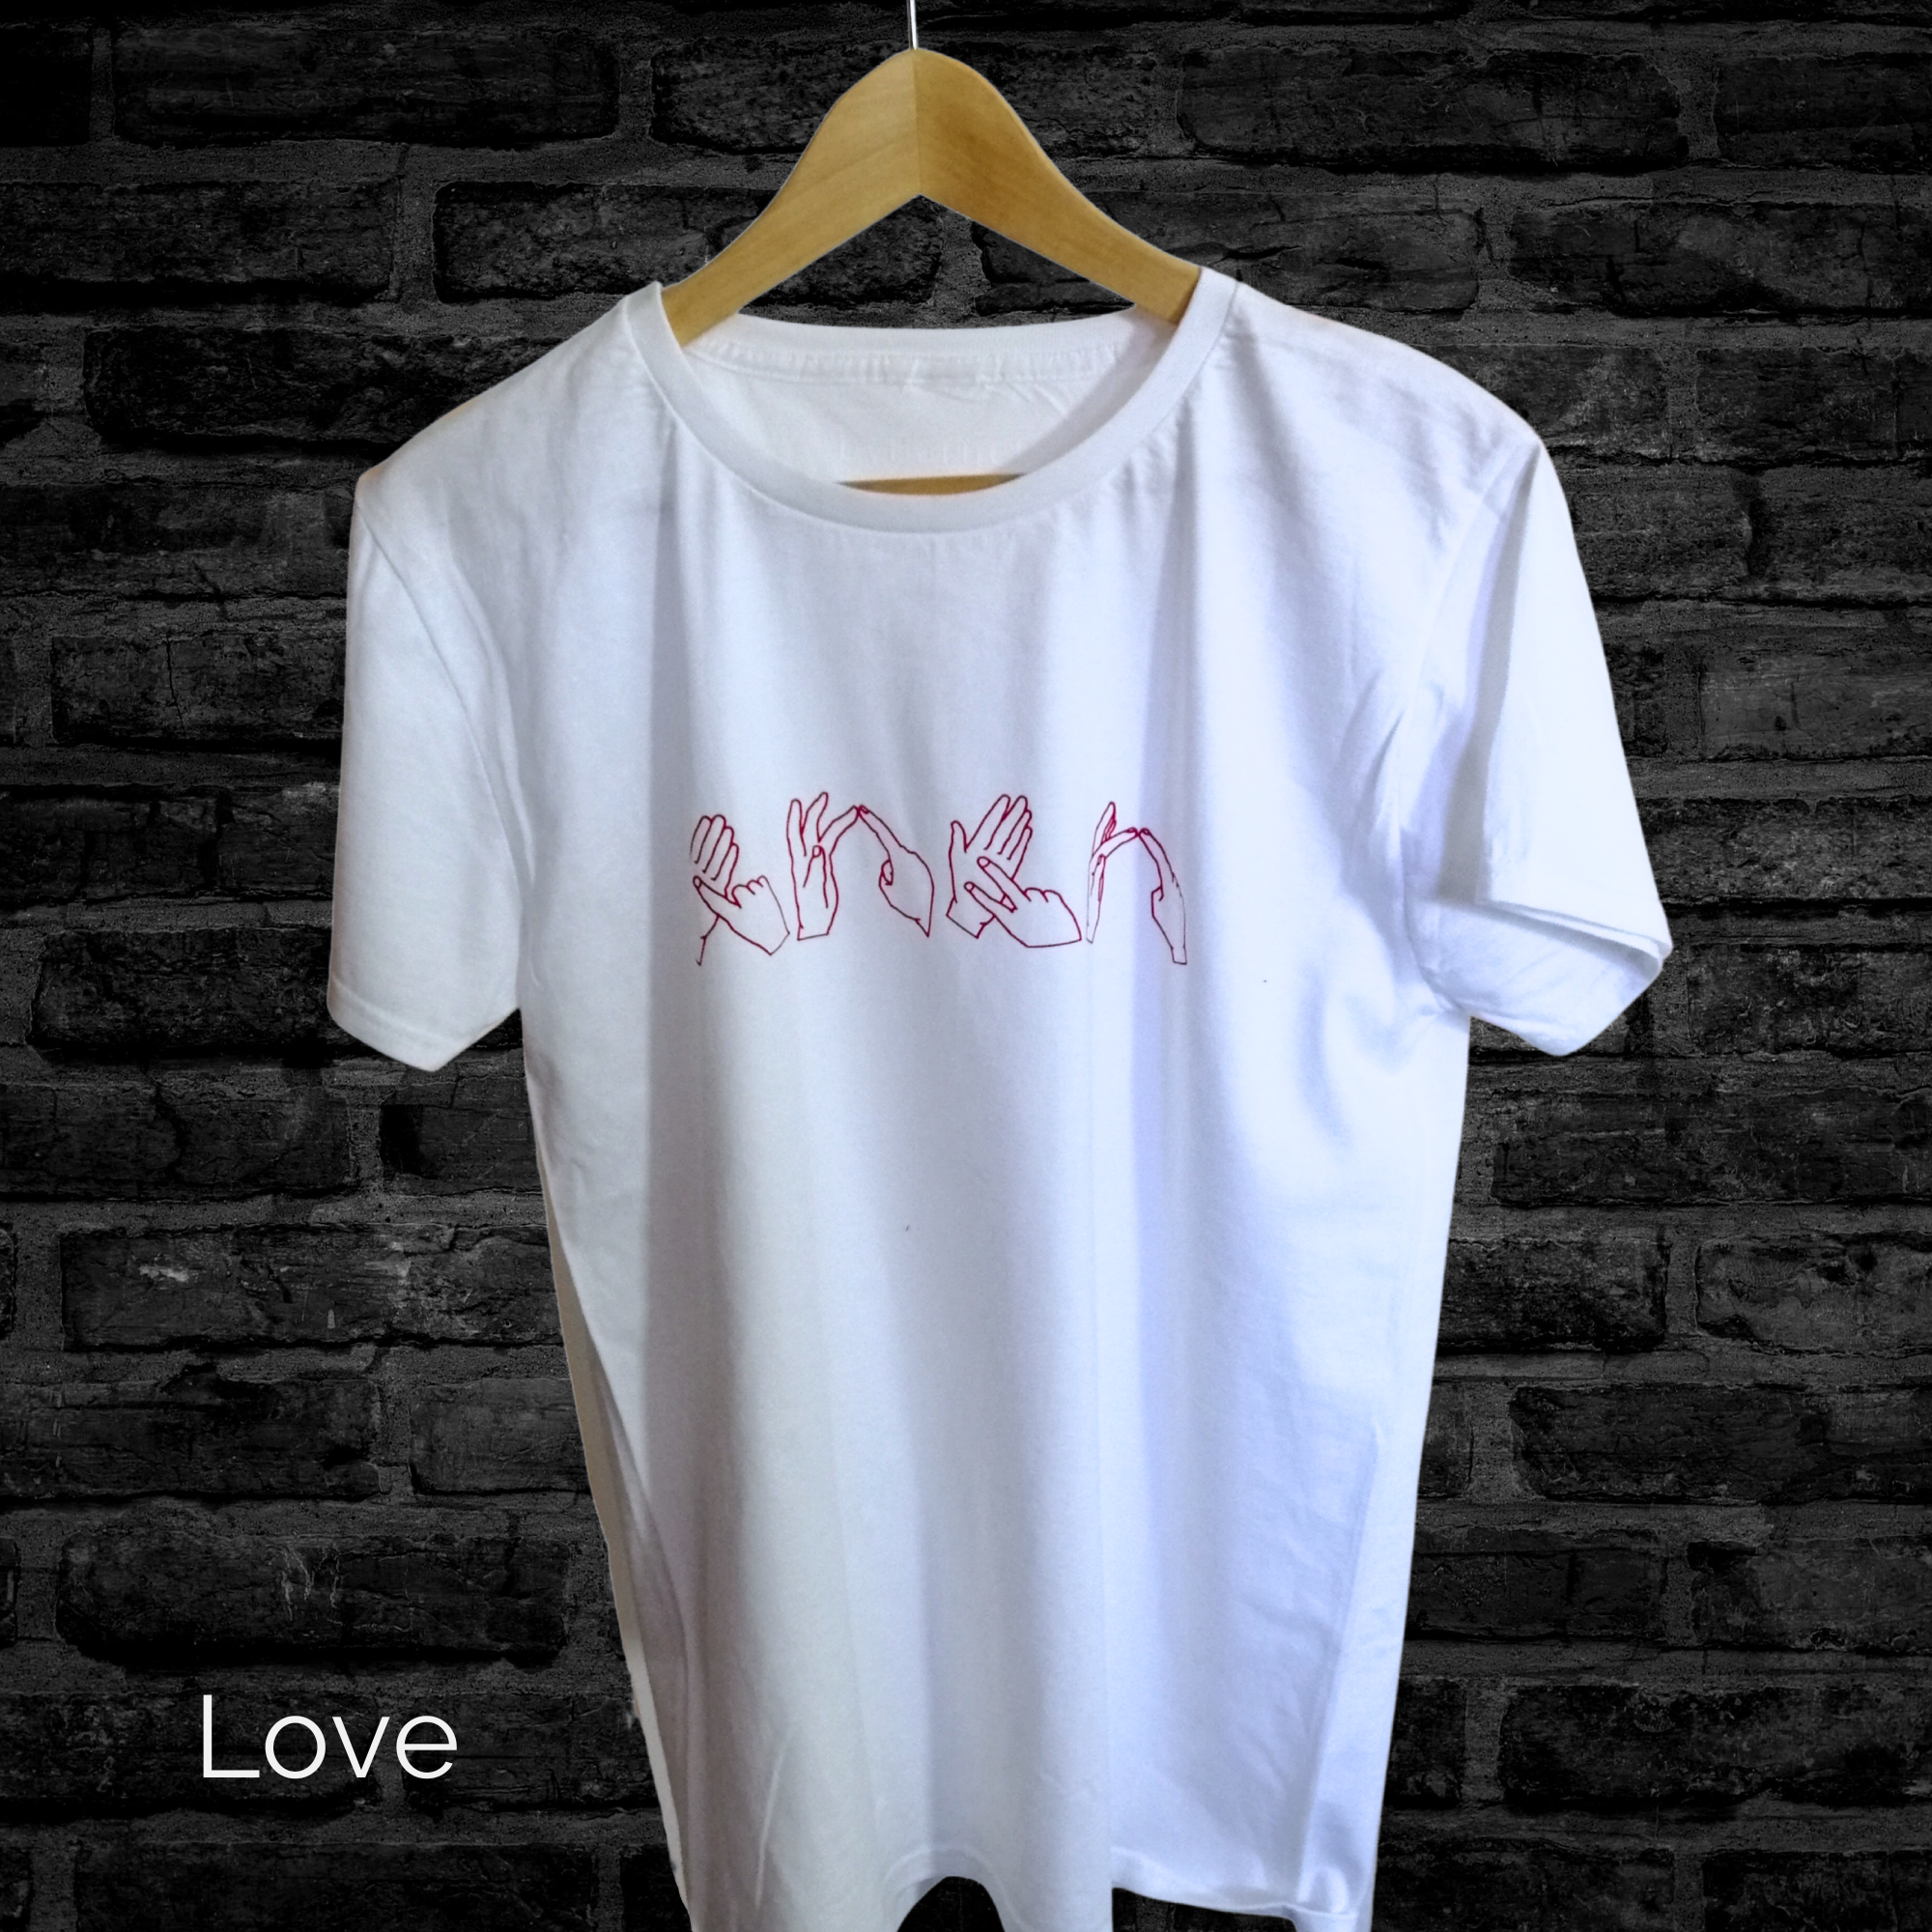
Challenge completed!!!
A gallery of completed craft projects from the Happy Barnet Craft Challenge 2022.